
How to use GENSOKISHI
Enjoy the adventure with a wallet app,
and enjoy a world where you can own and trade NFTs.

Steps at a glance
If this is your first time, please follow the steps in order from the top.
Supported wallets
GENSOKISHI supports the following three wallets. Please choose whichever one you like and use it.
-
Bitget Wallet
Official PartnerThis is the wallet of an official partner of GENSOKISHI.
Official site -
MetaMask
A wallet you can use as a smartphone app or as a browser extension.
Official site -
Brave Wallet
A wallet built into the Brave browser.
Official site
* Any one of these wallets is enough to get started.
Please read this before you start
- POL = gas fee
- Used for the network fee (gas fee) required for transactions made with your wallet.
- USDT = payment
- Used to pay on the official marketplace.
- For both POL and USDT, be sure to select the Polygon network.
- The same currency name can exist on a different network. Always check the network before you buy or receive it.
- Never give your secret recovery phrase or private key to anyone. The GENSOKISHI team will never ask you for them.
Step-by-step guide
-
Create a wallet
Create your own wallet with Bitget Wallet, MetaMask or Brave Wallet.
The secret recovery phrase shown when you create the wallet is the important information used to restore it. Keep it safe, for example by writing it down on paper, and never tell it to anyone.
-
Get POL for gas fees
POL is the network fee (gas fee) required for transactions made with your wallet. Use the buy function of your wallet app or a similar method to prepare a small amount of POL on the Polygon network.
Payment methods such as credit card or bank transfer may be shown, but the methods you can actually use differ by region and by the purchase service.
Point: Get your first POL directly, for example through the buy function, instead of swapping it from your payment currency. Without POL you cannot even pay the gas fee for a swap.
-
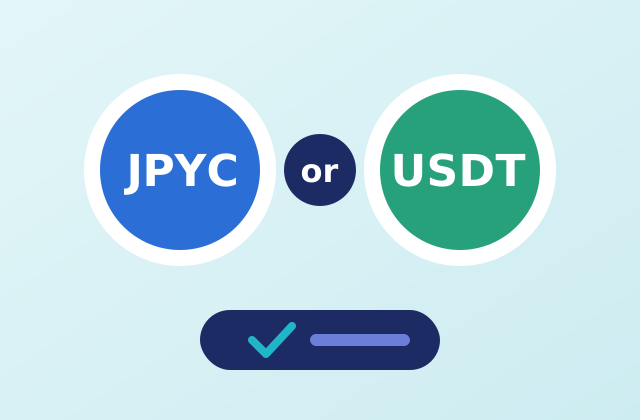
Get USDT for payment
On the official marketplace you pay with USDT.
How to get USDT
- Use the buy function of your wallet, or a transfer.
- Receive USDT on the Polygon network in the same wallet.
-
Connect your wallet to GENSOKISHI
Connect the wallet you created to GENSOKISHI and to the official marketplace.
- In GENSOKISHI, open the "External Wallet" tab in the options and select "Connect a new wallet". The wallet registration page opens in your browser. Follow the instructions on the screen to connect.
- On the official marketplace, choose a login method from "Connect Wallet" at the top of the screen, press "Connect now", and sign the request shown in your wallet.
When connecting, check carefully what you are connecting to and what is being requested in your wallet app before you approve.
-

Get NFTs
You can get equipment and item NFTs on the official marketplace and similar channels. The NFTs you get are owned by the wallet you connected.
Prepare a small amount of POL as a gas fee for transactions such as buying or transferring NFTs.
Visit the official marketplace -
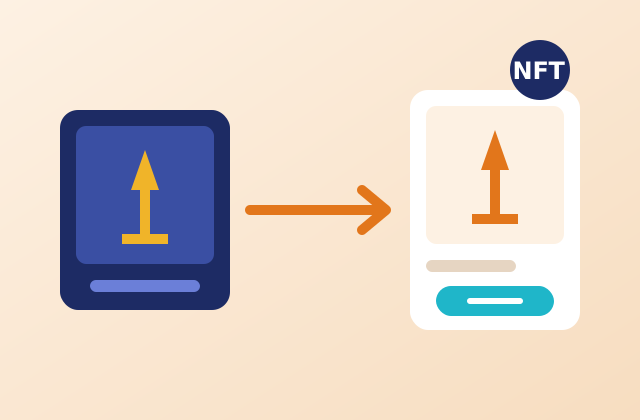
Export items you obtained in the game
Supported equipment and items you obtain in the game can be exported to your wallet as NFTs.
Exported NFTs can be listed on the official marketplace. Some operations require POL as a gas fee, so prepare it in advance.